
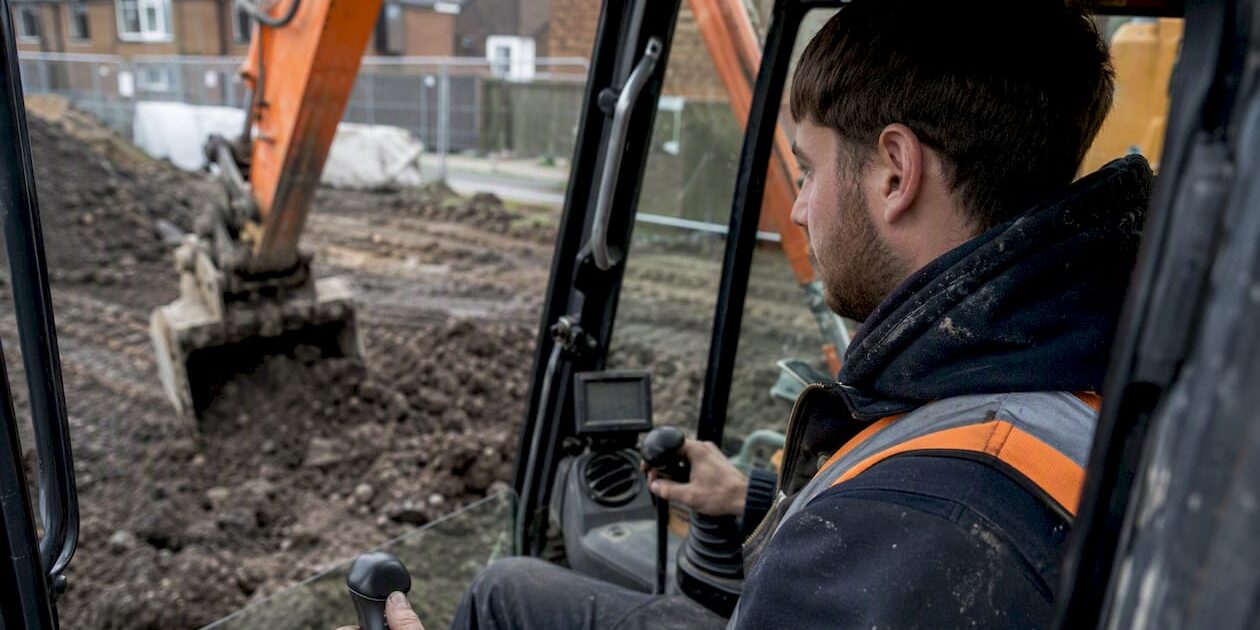
Site preparation for a new build follows a fixed sequence: site survey and geotechnical testing, securing planning and building regulation approvals, site clearing and demolition, bulk excavation and cut-and-fill, grading and compaction, drainage and utility installation, and final stabilisation before foundations are formed. Industry guidance confirms this staged approach is the foundation of structural performance and regulatory compliance on any UK residential build.
Here are the stages in order:
- Stage 1: Pre-construction site survey and geotechnical soil investigation
- Stage 2: Planning permission, building regulations approval, and statutory consents
- Stage 3: Site clearing, vegetation removal, and demolition
- Stage 4: Bulk excavation, topsoil stripping, and cut-and-fill earthworks
- Stage 5: Grading, compaction, and formation level verification
- Stage 6: Drainage installation and surface water management
- Stage 7: Underground utility location, protection, and temporary services
- Stage 8: Final stabilisation, sub-base placement, and pre-pour sign-off
On a straightforward residential plot, planning and permits can take several weeks, while on-site earthworks duration varies depending on ground conditions, slope, and site complexity. Your immediate next action is to commission a topographical survey and geotechnical investigation simultaneously, and lodge any pre-application planning enquiries with your local authority before plant is ever mobilised.
Pro Tip: Commission your geotechnical investigation and topographical survey at the same time. The two reports inform each other, and running them in parallel saves two to three weeks on your programme.
Ajcandsonbuilders coordinates all these stages for homeowners across Liverpool and Merseyside, from the first site visit through to pre-pour sign-off.
Table of Contents
- What happens at each site preparation stage for a new build?
- Which UK permits and approvals do you need before site works begin?
- What does a geotechnical report actually tell you?
- How does bulk excavation, cut-and-fill, and compaction actually work?
- What drainage and ground improvement options suit your site?
- How do you locate existing services and set up temporary utilities?
- What health, safety, and environmental controls apply during site preparation?
- Red flags to watch for and questions to ask your contractor
- What timeline and costs should you budget for UK site preparation?
- What sign-offs do you need before foundations can be poured?
- Key takeaways
- Why site preparation deserves the bulk of your early attention
- Ajcandsonbuilders: professional site preparation across Liverpool and Merseyside
- Useful sources and further reading
What happens at each site preparation stage for a new build?
A complete site preparation workflow always begins with survey and planning, moves through clearing and excavation, and ends with testing and sign-off before any concrete is placed. Here is what you should expect at each step, who to hire, and what deliverables to request.
Step 1: Pre-construction site survey
A qualified surveyor establishes the site boundaries, levels, and topography. You will receive a topographical survey drawing showing contours, existing features, and any constraints such as rights of way or protected trees. This drawing feeds directly into the architect’s design and the earthworks calculations.
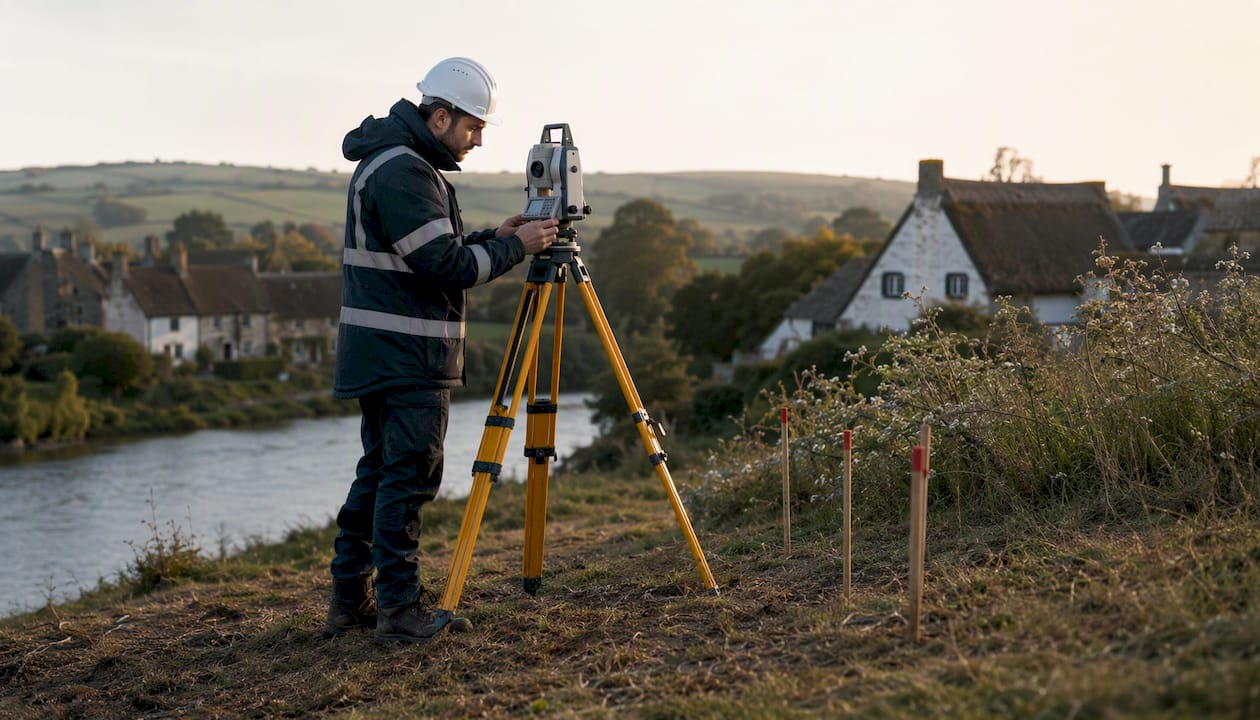
Who to hire: A chartered land surveyor (RICS-accredited).
Deliverables to request: Topographical survey drawing, boundary confirmation, and any OS datum reference points.
Typical duration: 1–2 weeks.
Step 2: Geotechnical soil investigation
A geotechnical engineer carries out trial pits, boreholes, or standard penetration tests to characterise the ground. The resulting report identifies bearing capacity, groundwater depth, soil classification, and any contamination. Foundation type, depth, and drainage strategy all flow from this report.
Who to hire: A geotechnical engineer or specialist ground investigation contractor.
Deliverables to request: Full geotechnical report with interpretive summary, soakaway/percolation test results, and recommended foundation options.
Typical duration: 1–2 weeks for fieldwork; allow a further 1–2 weeks for the report.
Step 3: Planning permission and building regulations approval
No plant should move on site until written approvals are in place. Planning permission governs what you build and where; building regulations approval governs how it is built. These run on separate tracks and both are required. See Step-by-step guidance on the building regulations approval process for a full breakdown.
Deliverables to request: Decision notice (planning), building control approval or initial notice, and any conditions attached to the consent.
Typical duration: 2–8 weeks for permits and approvals.
Step 4: Site clearing and demolition
Once consents are in place, the site is cleared of vegetation, scrub, trees (subject to any Tree Preservation Orders), and any existing structures. Proper land clearing means full stump and root extraction, not just surface removal, because residual organic matter compresses under load and causes differential settlement.
Who to hire: A demolition contractor (for structures) and a groundworks or vegetation clearance contractor.
Deliverables to request: Waste transfer notes for all removed material, confirmation of stump and root extraction, and a cleared site photograph record.
Typical duration: 1–2 weeks.
Pro Tip: Segregate and stockpile the stripped topsoil in a designated area away from the works. Good-quality topsoil is expensive to import later and is invaluable for landscaping once the build is complete.
Step 5: Topsoil stripping and bulk excavation
Topsoil contains organic matter that compresses under structural load. It must be stripped across the entire building footprint, typically to a depth of 150–300 mm, before bulk excavation begins. Bulk excavation removes material to the formation level specified by the structural engineer, accounting for foundation depth and any engineered fill requirements.
Who to hire: An earthworks or groundworks contractor with appropriate plant.
Deliverables to request: Excavation records showing depths achieved, and confirmation that formation level matches the engineer’s specification.
Typical duration: 1–3 weeks.
Step 6: Cut-and-fill, grading, and compaction
Excavated material is redistributed across the site to achieve the design levels, a process known as cut-and-fill. Any imported engineered fill is placed in controlled lifts and compacted to the specified density. Compaction certificates must be provided before foundation works proceed.
Who to hire: Earthworks contractor with compaction plant and access to a testing laboratory.
Deliverables to request: Compaction test certificates (nuclear gauge or sand cone results), cut-and-fill balance calculations, and formation level survey.
Typical duration: 1–2 weeks.
Pro Tip: Always ask for compaction test certificates in writing before the foundation contractor mobilises. A verbal assurance is not sufficient for building control or warranty providers such as NHBC.
Step 7: Drainage installation and utility works
Surface water drainage, foul drainage, and any soakaway systems are installed at formation level before the sub-base is placed. Permanent utility trenches (water, gas, electricity, telecoms) are also excavated and ducted at this stage to avoid breaking up finished groundworks later.
Who to hire: A drainage contractor and, where required, a SuDS (Sustainable Drainage Systems) consultant.
Deliverables to request: Drainage layout drawing, soakaway test results, and utility trench records.
Typical duration: 1–3 weeks.
Step 8: Sub-base placement and final stabilisation
A granular sub-base is placed and compacted over the formation to provide a stable working platform for foundation works. The site is checked for ponding, soft spots, and any areas requiring further treatment before the structural engineer carries out a pre-pour inspection.
Who to hire: Groundworks contractor; structural engineer for pre-pour sign-off.
Deliverables to request: Sub-base compaction records, pre-pour inspection report, and building control sign-off.
Typical duration: 1–2 weeks.
Which UK permits and approvals do you need before site works begin?
Securing the right permissions before any plant arrives on site is not optional. Missing a consent can halt works mid-programme, trigger enforcement action, and invalidate your structural warranty. The approvals you are likely to need fall into several categories.
- Planning permission: Required for new dwellings and most substantial structures. Granted by your local planning authority (LPA). Conditions attached to the decision notice may include requirements for archaeological watching briefs, ecological surveys, or drainage strategies before works start.
- Building regulations approval: Separate from planning, this covers structural, thermal, drainage, and fire safety compliance. You can use local authority building control or an approved inspector. The planning and building regulations process for extensions follows a similar dual-track structure.
- Environmental consents: If your site is near a watercourse, in a flood zone, or involves significant earthworks, you may need a Flood Risk Activity Permit from the Environment Agency.
- Tree Preservation Orders (TPOs) and hedgerow regulations: Any protected tree or hedgerow on or adjacent to the site requires consent before removal or works within the root protection area.
- Highways access licence: If your build requires a new or altered vehicular access onto a public road, a Section 184 licence from the local highway authority is required before groundworks begin.
- Protected species surveys: If the site has potential bat roosts, great crested newt habitat, or nesting birds, an ecological survey and, where necessary, a mitigation licence must be in place before clearing starts.
Pro Tip: Submit your pre-application enquiry to the LPA before the geotechnical report is complete. The two processes can run in parallel, and early LPA engagement often surfaces constraints (drainage, access, ecology) that affect your site preparation design.
Permit windows vary considerably. Planning decisions on householder and minor applications typically take 8 weeks from validation, though complex or contested applications take longer. Building regulations approval (full plans route) usually takes 5 weeks. Permit and approval timelines are frequently underestimated: professionals recommend having all written approvals confirmed before equipment is mobilised to avoid costly plant standby fees.
NHBC or other structural warranty providers will require evidence of building control involvement and, in many cases, their own inspections at key stages including foundation formation. Engage your warranty provider early so their inspection schedule aligns with your programme.
What does a geotechnical report actually tell you?
Ground investigation is the stage most homeowners underestimate, yet it directly determines foundation type, depth, drainage strategy, and whether any ground improvement is needed before building begins. Professional site analysis and correct soil compaction prevent expensive remedial work later; inadequate drainage and poor compaction are leading causes of structural problems in residential builds.
Common tests and what they reveal
| Test | What it measures | Why it matters to you |
|---|---|---|
| Trial pits | Soil profile, depth to bedrock, groundwater level | Confirms foundation depth and identifies contamination |
| Boreholes | Deep soil classification, SPT values | Required for deeper foundations or where trial pits cannot reach |
| Standard Penetration Test (SPT) | Soil stiffness and bearing capacity (kPa) | Determines whether standard strip foundations are adequate |
| Atterberg limits | Plasticity and shrink-swell potential of clay soils | Flags risk of heave or subsidence, especially on shrinkable clays |
| Soakaway/percolation test | Soil drainage rate | Determines whether a soakaway is viable or mains connection is required |
| Chemical analysis | Contamination, sulphate content | Affects concrete specification and any remediation requirements |
How the report shapes your build
A bearing capacity figure in kiloPascals tells your structural engineer whether standard strip foundations will suffice or whether piled, raft, or trench-fill foundations are needed. High groundwater levels may require a dewatering strategy during excavation. Shrinkable clay soils, common across parts of Merseyside, typically require deeper foundations to reach stable ground below the zone of seasonal movement.
The soakaway test result is binary in its practical effect: if the soil permeability is insufficient, you cannot use a soakaway and must connect to the mains sewer or design an attenuation system instead.
Pro Tip: Ask your geotechnical engineer to include an interpretive summary written for a non-technical client. The raw data tables are for the structural engineer; the summary tells you, in plain English, what the ground means for your build and your budget.
How does bulk excavation, cut-and-fill, and compaction actually work?
Earthworks are the most physically demanding stage of building site preparation, and the one where poor practice is hardest to detect once the ground is covered. The process follows a defined sequence, and each step must be verified before the next begins.
The earthworks sequence
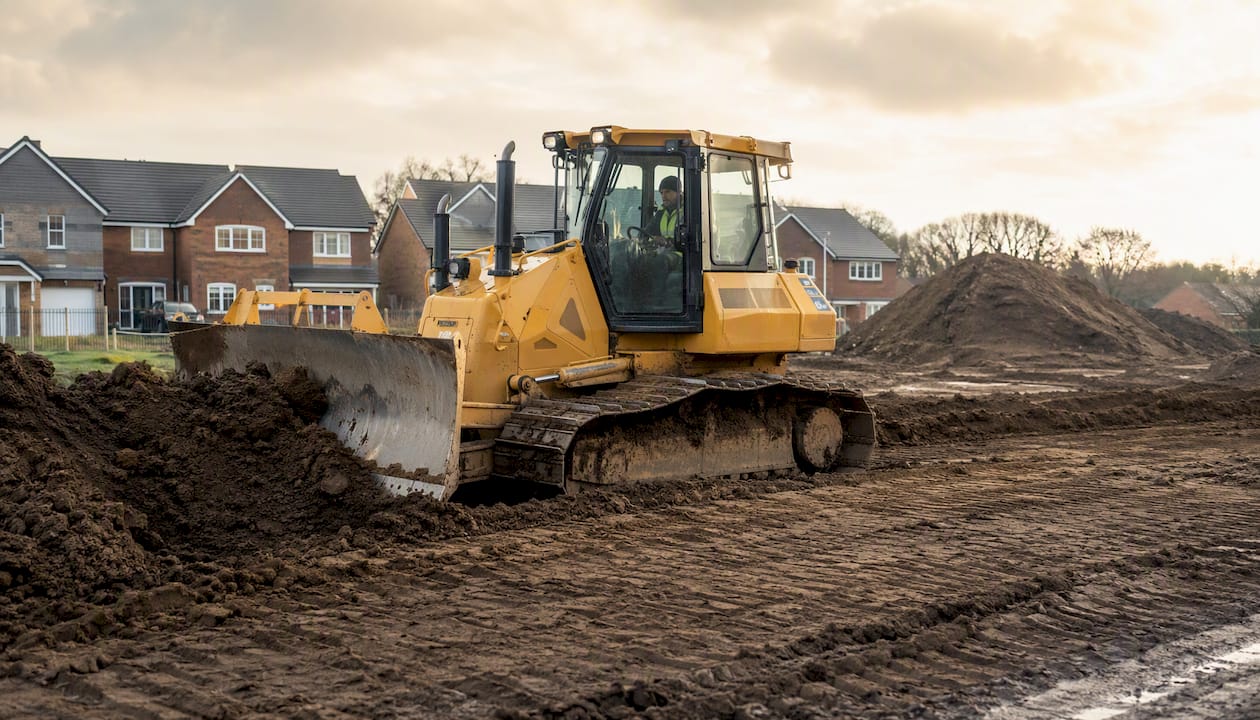
Excavation starts with topsoil stripping across the building footprint, removing the organic layer to a depth of 150–300 mm and stockpiling it separately. Bulk excavation then removes material to the formation level specified by the structural engineer. Where the site slopes, cut-and-fill balancing redistributes excavated material to raise low areas, reducing the volume of imported fill and the associated haulage cost.
Engineered fill is placed in controlled lifts, typically 150–200 mm thick, and each lift is compacted before the next is placed. Target density ratios for residential works are commonly 95–98% standard Proctor, verified by nuclear gauge or sand cone testing. Every test result should be recorded and handed to the client.
Earthworks methods: a practical comparison
| Method | Typical application | Cost tendency | Key consideration |
|---|---|---|---|
| On-site cut-and-fill | Sloped sites with balanced volumes | Lower | Requires early survey calculations to be effective |
| Imported engineered fill | Sites with insufficient excavated material | Higher | Material specification and source certification required |
| Geogrid reinforcement | Weak or variable subgrade | Moderate | Extends bearing capacity without deep excavation |
| Lime or cement stabilisation | High-plasticity clay soils | Moderate | Reduces plasticity and improves workability |
Reusing excavated material within the site footprint lowers haulage and import costs, but only works when the cut-and-fill volumes are calculated early in the programme. A late calculation often means material has already been removed from site.
Safety during excavation
Before any excavation begins, all underground utilities must be located and clearly marked. Spoil must be placed away from trench edges to prevent surcharge loading on the trench walls. Excavations deeper than 1.2 m require either battering (sloping the sides) or approved shoring to prevent collapse. HSE guidance on excavation safety is clear: no worker should enter an unshored excavation of significant depth without a safe system of work in place.
Pro Tip: Saturated soils lose bearing capacity rapidly. If water is ponding on the formation, do not compact over it. Install sump pumps or wellpoints to dewater the excavation before any fill is placed or compaction begins.
What drainage and ground improvement options suit your site?
Drainage design is not a single decision. The right solution depends on soil permeability, site slope, proximity to watercourses, and the local authority’s requirements for surface water disposal. Getting this wrong at site preparation stage creates problems that are expensive to correct once the slab is down.
Common drainage solutions and when to use them
- Soakaways: Suitable where percolation tests confirm adequate soil drainage. Typically formed from perforated ring sections or crate systems. Not viable in clay-dominant soils or high groundwater areas.
- French drains: Perforated pipe in a gravel-filled trench, used to intercept and redirect groundwater away from the building footprint. Effective on sloped sites with moderate permeability.
- Surface water attenuation: Required where the site cannot discharge at greenfield run-off rates. Attenuation tanks or basins hold water and release it slowly to a watercourse or sewer. Increasingly required by local authorities under SuDS policy.
- Connection to mains sewer: Where soakaways are not viable, foul and surface water drainage connects to the adopted sewer network, subject to approval from the relevant water authority.
- Geotextile membranes: Laid beneath granular fill to separate layers, prevent fines migration, and improve load distribution. Standard practice on variable or weak subgrades.
- Lime or cement stabilisation: Used on high-plasticity clay soils to reduce moisture sensitivity and improve trafficability for plant. Particularly relevant on Merseyside sites with heavy clay.
When to commission a drainage designer
A drainage designer or SuDS consultant should be appointed before planning is submitted, not after. Many local authorities now require a drainage strategy as part of the planning application, and a poorly conceived strategy can result in conditions that are difficult or expensive to discharge. The consultant’s outputs should include soakaway test results, a drainage layout drawing, and a SuDS maintenance plan where required.
Pro Tip: Check with your local authority whether a SuDS approval body (SAB) sign-off is required in your area. In Wales this is mandatory; in England it is handled through building control, but requirements vary by council.
How do you locate existing services and set up temporary utilities?
Underground services are the single greatest safety risk during site preparation. Striking a gas main or high-voltage cable causes injuries, programme delays, and significant liability. The process of locating, marking, and protecting services must happen before any excavation tool touches the ground.
Locating and protecting underground services
Contact the relevant utility companies and use a dial-before-you-dig service to obtain records of known service routes. Supplement this with a cable avoidance tool (CAT) and signal generator survey carried out by a competent operative on site. Mark all identified services with spray paint and barrier tape, and establish exclusion zones around them.
The utilities most commonly encountered during new-build site preparation are:
- Water supply mains and communication pipes
- Foul and surface water sewers
- Gas distribution mains and service pipes
- Low and high-voltage electricity cables
- Telecoms ducting and fibre optic cables
Temporary services: what your contractor needs on site
Before earthworks begin, the following temporary services should be arranged:
- Temporary electricity supply: Either a mains connection via the DNO or a generator, required for site lighting, power tools, and welfare facilities.
- Water supply: For dust suppression, concrete mixing, and welfare. A temporary standpipe or bowser is standard.
- Welfare facilities: HSE requires adequate toilet and washing facilities on site from day one of works.
- Site compound and access: A hardstanding area for plant parking, materials storage, and the site office or cabin. Temporary access track or road plates protect the ground and prevent site vehicles from churning up the formation.
- Hoarding and security fencing: Perimeter hoarding or Heras fencing is required to secure the site, protect the public, and deter unauthorised access.
Timing of permanent utility connections
Permanent utility trenches should be excavated and ducted during the earthworks stage, before the sub-base is placed. Service stubs should be brought to the correct position and depth for connection once the slab is formed. Arranging utility connections early avoids the common problem of breaking up finished groundworks to install services that were not planned at the right stage.
What health, safety, and environmental controls apply during site preparation?
Site preparation carries more safety risk than most visible construction stages because the hazards are largely underground or involve heavy plant. HSE guidance and UK construction regulations set clear expectations, and your contractor should be able to demonstrate compliance before works begin.
Key safety requirements
- Utility location before excavation: No excavation should begin until all services are located, marked, and recorded. Hand digging within 500 mm of a marked service is standard practice.
- Shoring and battering: Excavations deeper than 1.2 m must be either battered to a safe angle or shored with proprietary systems. Spoil must be placed at least 0.5 m from the trench edge.
- Exclusion zones for plant: Pedestrians and non-essential personnel must be kept clear of operating plant. Banksmen should be used when plant is reversing or working near site boundaries.
- Safe access and egress: Ladders or steps must be provided for any excavation workers to enter and exit safely.
- Risk assessments and method statements (RAMS): Every contractor working on site preparation should provide written RAMS before starting work. Reviewing these is your right as the client.
Pro Tip: Ask every contractor for their RAMS before they mobilise. A contractor who cannot produce a method statement for excavation and utility avoidance is a contractor who should not be on your site.
Environmental controls
- Silt fences and settlement ponds: Prevent disturbed soil from entering watercourses during earthworks.
- Tree protection zones: Fencing around retained trees must be in place before any plant arrives, protecting root systems from compaction and damage.
- Protected species checks: Ecological clearance must be confirmed before vegetation is removed. Nesting birds, bats, and great crested newts are the most commonly encountered species on UK residential sites.
- Waste disposal compliance: All excavated material, demolition waste, and vegetation must be disposed of via a licensed waste carrier with waste transfer notes provided to the client.
- Dust and noise management: Water suppression for dust and agreed working hours for noise are standard conditions on most planning consents.
Construction accidents account for approximately 20% of all work-related deaths in the industry, which underlines why method statements, exclusion zones, and utility avoidance protocols are non-negotiable on any site, regardless of scale.
Red flags to watch for and questions to ask your contractor
Most problems during site preparation are avoidable. They stem from contractors cutting corners on testing, skipping documentation, or mobilising before approvals are in place. Knowing what to ask and what to watch for puts you in control of the process.
Questions to ask before appointing any site preparation contractor
- Can you provide evidence of public liability and employers’ liability insurance?
- Will you supply written RAMS before works begin?
- Do you have experience with similar ground conditions in this area?
- Can you provide compaction test certificates from previous projects?
- Who will carry out the utility location survey, and what equipment will they use?
- Will you provide waste transfer notes for all excavated and demolished material?
- Can you supply references from homeowners or developers for whom you have completed similar groundworks?
Red flags that should give you pause
- No geotechnical report, or a contractor who says one is unnecessary
- Requests to skip topsoil stripping to save time
- Inability to produce written permit confirmations before mobilising
- Contractors unwilling to proof-roll the formation before sub-base placement
- Verbal-only assurances on compaction, with no offer of test certificates
- Vague or missing waste disposal arrangements
- Pressure to begin excavation before utility records have been obtained
Treating early groundworks with the same priority as visible structure work prevents regulatory, environmental, and programme delays. At Ajcandsonbuilders, we recommend Merseyside homeowners commission their geotechnical investigation and utility records before any contractor is appointed, not after. The information those reports contain shapes every decision that follows, from foundation type to drainage design to programme sequence.
Vetting contractors thoroughly before appointment is the single most effective cost-control measure available to a self-build client. A practical guide to selecting a reliable builder covers the key criteria in detail.
What timeline and costs should you budget for UK site preparation?
Realistic budgeting for site preparation requires understanding both the duration of each stage and the factors that push costs towards the higher end of the range. Ground conditions, site slope, contamination, and distance to mains services are the primary cost drivers.
Typical stage durations
| Stage | Typical duration |
|---|---|
| Site survey and geotechnical investigation | several weeks |
| Planning and building regulations approvals | several weeks |
| Site clearing and demolition | about a week or two |
| Bulk excavation and cut-and-fill | one to several weeks |
| Drainage and utility installation | one to several weeks |
| Compaction, sub-base, and sign-off | about a week or two |
These timelines reflect industry practice and assume a straightforward residential plot. Contaminated land, rock excavation, or complex drainage requirements will extend each stage.
Cost drivers and budget guidance
- Geotechnical investigation: Costs vary with the number of trial pits and boreholes required. A basic investigation for a single dwelling typically runs to several hundred pounds; more complex sites with boreholes and laboratory testing cost more.
- Planning and building control fees: Set by the local authority and the Planning Portal fee schedule; these are fixed statutory charges and are not negotiable.
- Site clearing: Heavily wooded or previously developed sites cost significantly more than open greenfield plots. Stump grinding and root extraction add to the base clearing cost.
- Bulk excavation: Rock excavation can cost three to five times more per cubic metre than standard soil. Contaminated material requires specialist disposal and adds substantially to cost.
- Drainage: Connecting to a distant mains sewer is considerably more expensive than a viable soakaway. Attenuation systems add cost but are increasingly required.
- Imported fill: Where cut-and-fill balancing cannot be achieved on site, imported engineered fill adds both material and haulage costs.
Contingency guidance
Budget a contingency of at least 10–15% of your site preparation costs for unforeseen ground conditions. Rock, contamination, and unexpectedly high groundwater are the most common surprises, and none of them are cheap to resolve mid-programme. Provisional sums for items such as rock breaking or dewatering should be included in your contractor’s quotation so that the scope of any additional work is agreed in advance rather than negotiated under pressure.
Plant standby costs accumulate quickly when permits are delayed or when the site is not ready for the next stage. Scheduling plant to arrive only when the preceding stage is complete and signed off is the most effective way to control this cost.
What sign-offs do you need before foundations can be poured?
The transition from site preparation to foundation works is a formal handover, not simply a matter of the ground looking ready. Several sign-offs and documents must be in place before concrete is placed, and missing any one of them can result in building control requiring the work to be exposed and re-inspected.
The pre-pour checklist
- Formation level achieved and confirmed against the structural engineer’s specification
- Compaction test certificates received and reviewed by the structural engineer
- Drainage installed and drainage layout drawing provided
- Service stubs in correct position and depth
- Sub-base placed and compacted
- No ponding or saturated areas on the formation
- Geotechnical engineer or structural engineer pre-pour sign-off obtained in writing
- Building control inspection completed and recorded
Who signs off and what they provide
- Structural engineer: Confirms formation level, foundation dimensions, and compaction results meet the design specification. Issues a pre-pour sign-off letter.
- Geotechnical engineer: Confirms ground conditions at formation level match those assumed in the geotechnical report. Flags any anomalies requiring further investigation.
- Building control officer or approved inspector: Carries out a statutory inspection of the excavation before concrete is placed. This inspection must be booked in advance; do not pour concrete without it. Guidance on structural calculations and pre-pour requirements explains what the engineer is checking.
- NHBC or warranty provider inspector: Where a structural warranty is in place, the warranty provider’s inspector must also sign off at foundation stage.
Arranging the pre-pour meeting
Book the building control inspection and the structural engineer’s site visit for the same day where possible. Confirm the site is weather-ready: if heavy rain is forecast, delay the pour rather than risk water contaminating the formation or diluting the concrete mix. Keep the formation covered with polythene sheeting if there is any delay between sign-off and the pour.
Key takeaways
Site preparation for a UK new build requires a fixed sequence of surveys, permits, earthworks, and sign-offs, and skipping or rushing any stage creates structural and regulatory problems that cost far more to fix than to prevent.
| Point | Details |
|---|---|
| Commission surveys first | Appoint a land surveyor and geotechnical engineer before any other contractor is engaged. |
| Secure written approvals | Planning permission, building regulations approval, and utility records must be in place before plant mobilises. |
| Verify compaction in writing | Compaction test certificates are required by building control and warranty providers before foundations proceed. |
| Budget a 10–15% contingency | Rock, contamination, and high groundwater are common surprises; provisional sums protect your cashflow. |
| Ajcandsonbuilders for Liverpool and Merseyside | Ajcandsonbuilders coordinates site preparation from survey to pre-pour sign-off across Liverpool and Merseyside. |
Pro Tip: Schedule plant arrivals in stages, not all at once. Mobilising excavation plant before permits are confirmed or before the utility survey is complete generates standby costs that add nothing to the build.
Why site preparation deserves the bulk of your early attention
There is a tendency among homeowners planning a new build to focus energy on the design, the specification, and the visible finishes, while treating the groundwork as something that simply happens before the real build begins. We would argue the opposite is true.
Site preparation is, in effect, foundational insurance. The money spent on a thorough geotechnical investigation, properly sequenced earthworks, and documented compaction is money that prevents structural failures, drainage problems, and regulatory delays that would cost multiples of that investment to correct once the slab is down. We have seen Merseyside sites where shrinkable clay soils were not properly identified before foundation design was finalised, requiring the foundation specification to be redesigned mid-programme at significant cost and delay. We have also seen sites where topsoil was not stripped across the full footprint, leaving organic material beneath the slab that compressed over time.
Liverpool and Merseyside present a specific set of ground conditions that reward careful preparation. Heavy clay soils are common across much of the region, with seasonal shrink-swell movement that demands deeper foundations than many homeowners anticipate. Groundwater levels can be higher than expected, particularly on lower-lying ground near the Mersey. Former industrial land, of which there is a considerable amount in the area, may carry contamination that requires specialist investigation and disposal.
Treating early groundworks with the same rigour as the visible structure is not overcaution. It is the approach that keeps a build on programme, on budget, and structurally sound for decades.
Ajcandsonbuilders: professional site preparation across Liverpool and Merseyside
For homeowners in Liverpool and Merseyside who want a single, experienced team to manage site preparation from the first survey to pre-pour sign-off, Ajcandsonbuilders offers exactly that. We coordinate geotechnical investigation, site clearing and demolition, bulk excavation and earthworks, drainage and utility liaison, and final stabilisation, working alongside your structural engineer and building control to keep the programme moving.

Our building services across Liverpool and Merseyside cover the full range of groundwork and structural preparation that a new build requires, and our knowledge of local ground conditions means we can flag potential issues before they become programme problems. We work with homeowners, property developers, and project managers who want reliable, documented workmanship and clear communication at every stage.
To arrange a site visit or request a quotation, contact Ajcandsonbuilders directly via ajcandsonbuilders.com. We will assess your site, discuss the preparation sequence, and provide a clear, itemised quotation so you know exactly what each stage will cost before any work begins.
Useful sources and further reading
Collecting and filing every permit, geotechnical report, and compaction certificate is not just good practice during the build. These documents are required by warranty providers, may be requested by building control at any stage, and will be expected by solicitors and surveyors when you come to sell or remortgage the property.
Keep a dedicated project folder, physical or digital, containing your planning decision notice, building regulations approval, geotechnical report, all compaction test certificates, drainage layout drawings, utility records, and pre-pour sign-off letters. Losing any of these documents after completion is a problem that is difficult and expensive to resolve.
Recommended sources
- HSE construction safety guidance: Covers inspection requirements, excavation safety, and employer obligations on construction sites.
- Site preparation guide: steps, costs and checklist: A detailed industry reference covering the canonical stage sequence and checklist items.
- Excavation and site preparation: step-by-step guide: Covers topsoil stripping depths, compaction specifications, dewatering, and pre-pour inspection requirements.
- Site preparation timeline and steps: Practical stage durations and advice on permit sequencing.
- Building regulations approval process: Ajcandsonbuilders guide: Explains how building control works in the UK and what approvals are required at each stage.
- Residential development project types explained: Background on how site preparation requirements differ by project type and scale.
This article provides general information about site preparation processes in the UK and is not a substitute for professional advice from a qualified surveyor, geotechnical engineer, structural engineer, or planning consultant. Always confirm current regulatory requirements with your local authority, building control body, and the relevant statutory authorities before commencing works.