
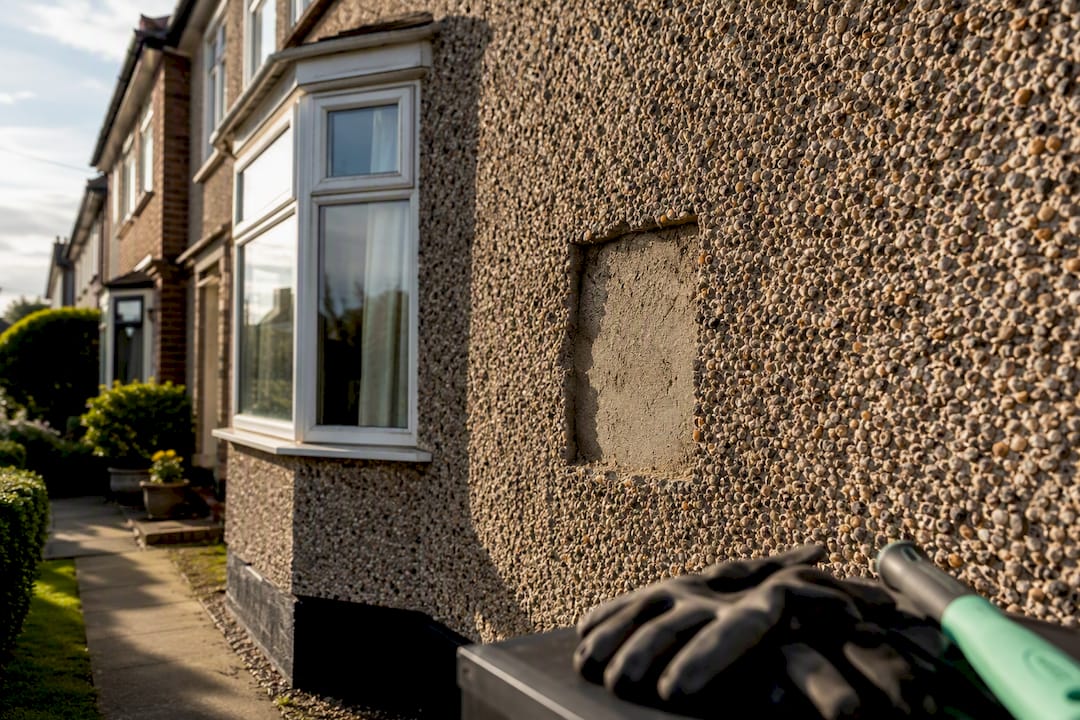
Yes, you can render over pebbledash, but only when the existing finish passes a proper soundness check and gets prepared with the right basecoat and mesh system. Skip that step and you’re gambling with your money: loose or ‘blown’ pebbledash left underneath will crack, delaminate, and take your new render with it. Done properly, with a high-build basecoat, reinforcing mesh, and a breathable topcoat, over-rendering can save you thousands compared with stripping the walls back to brick.
TL;DR:
- Only render over pebbledash if a thorough soundness check confirms the wall is bonded and free of moisture or damage; otherwise, removal is necessary.
- Use a high-build basecoat, mesh reinforcement, and breathable topcoat, as skipping these steps risks early cracking and delamination.
- Cost and timeline savings favor over-rendering unless brick repairs or damp issues complicate the project, which can increase expense and duration.
- Proper preparation, including cleaning, patching, and testing multiple spots, is essential to ensure the new render lasts or it will fail within a few years.
- Always verify contractor expertise in pebbledash, insist on proper materials and methods, and avoid shortcuts like skipping mesh reinforcement to prevent early failure.
Table of Contents
- Can you render over pebbledash? How to check first
- Materials and preparation that actually work over pebbledash
- What does a typical rendering project involve, step by step?
- Removing pebbledash versus rendering over it: costs and timescales
- Weighing the benefits against the risks
- Alternatives worth considering: paint, cladding, and EWI
- DIY or professional? What to ask before you book
- A local builder’s take on why so many over-render jobs fail
- How AJC & Son Builders can help with your render project
- Sources
Can you render over pebbledash? How to check first
Before you spend a penny on materials, walk the perimeter of your house and tap the pebbledash with the handle of a screwdriver or a small hammer. A solid, dull thud means the render is bonded to the wall behind it. A hollow, drum-like sound means it’s blown, detached from the substrate, and needs to come off before anything new goes on top.
Look out for these warning signs while you’re at it:
- Diagonal or stepped cracking, particularly around window and door reveals
- Sections that flex or sound different from the surrounding wall
- Patchy repairs from previous owners, often a mismatched colour or texture
- Damp staining, green algae, or salts bleeding through near the base of the wall
Any of those point to problems you can’t simply cover up. If portions of the wall sound hollow, or you spot damp staining that won’t wipe off, get a professional to open a test patch. That tells you what’s really going on behind the surface rather than guessing.
Pro Tip: Test at least three or four spots per elevation, not just one. Pebbledash often fails in patches rather than uniformly, and a single good-sounding tap near the door tells you nothing about the gable end.
Materials and preparation that actually work over pebbledash
Skipping preparation is the single biggest reason over-rendered pebbledash fails within a few years. Start by knocking off any loose stones with a bolster chisel, brushing down the surface, and filling holes or hollows with a repair mortar so you’re not building a new render system on uneven ground.
From there, the sequence that holds up is:
- Prime the surface to help the basecoat bond to the aggregate texture
- Apply a high-build polymer basecoat, or a purpose-made one-coat dash cover (OCDC), to level out the pebbles
- Embed an alkali-resistant fibreglass mesh into the wet basecoat
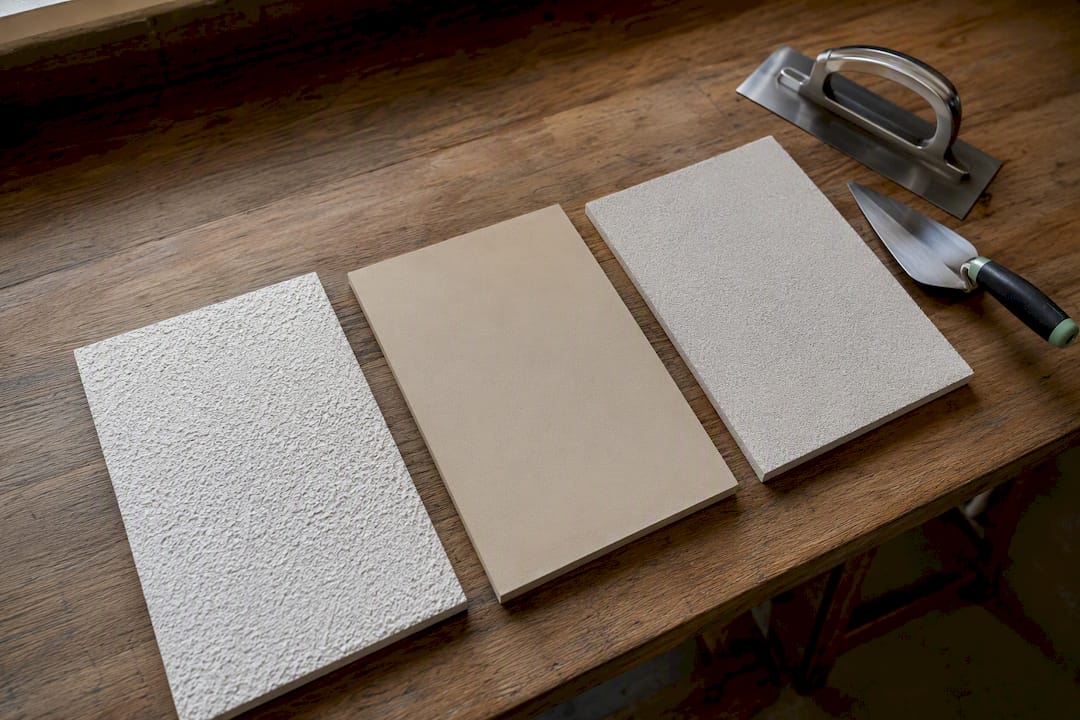
- Finish with a silicone or monocouche (through-coloured) topcoat, or paint, once fully cured
OCDC systems are formulated to bridge the coarse stones in a single pass, often up to around 25mm thick, which is what makes covering pebbledash without full removal viable in the first place. The mesh matters more than most homeowners realise: it spreads movement across the wall evenly rather than letting stress concentrate over each individual stone, which is exactly where hairline cracks start.
On topcoats, silicone renders give you a hydrophobic, breathable finish that sheds rain while still letting the wall dry out, and a through-coloured monocouche means you never have to repaint. Straight masonry paint over sound pebbledash is cheaper but needs reapplying every few years, so check our house rendering options guide if you’re weighing up finishes.
What does a typical rendering project involve, step by step?
Most reputable contractors follow broadly the same sequence, and knowing it helps you spot corners being cut.
- Survey the walls and open test patches to confirm soundness
- Strip loose stone and repair any damaged brickwork or substrate underneath
- Apply primer, then the high-build basecoat or OCDC, working in manageable sections
- Embed the alkali-resistant mesh into the wet basecoat and level the surface
- Allow the basecoat to cure, typically several days depending on weather
- Apply the chosen topcoat, finish trims and edges, and clean down the site
Curing times vary with temperature and humidity. Warm, dry conditions in spring or summer let a basecoat cure in three to five days; cold, damp weather in winter can stretch that to a week or more before the topcoat goes on. Rushing this stage is a common cause of trapped moisture and later cracking.
Pro Tip: Ask your contractor what happens if rain is forecast mid-project. A good crew will pause rather than push a topcoat onto a basecoat that hasn’t cured, even if it delays the job by a couple of days.
Removing pebbledash versus rendering over it: costs and timescales
Cost is usually what decides this argument. Removing pebbledash and re-rendering a small semi or terrace commonly runs from around £2,100 to £7,800, and other UK estimators put a typical small property job at £5,000 to £8,000 once removal and re-rendering are combined. Removal alone can start lower, but full strip-and-finish jobs on larger detached houses climb well beyond those figures.
Over-rendering with an OCDC or high-build system plus a silicone or monocouche topcoat is generally cheaper, since you’re skipping the labour-intensive stripping stage entirely. What still moves the price:
- Scaffolding, which is often unavoidable on two-storey properties and can add a four-figure sum on its own
- Brickwork repairs uncovered once loose pebbledash is knocked back
- Property size and how many elevations need treating
Timelines depend heavily on scaffolding availability and weather. A straightforward over-render on a mid-terrace might take a week; a full removal and re-render on a detached house, with brick repairs factored in, can run to three or four weeks.
Weighing the benefits against the risks
Covering sound pebbledash rather than removing it saves money, cuts down on mess and disruption, and gives you a modern finish in a fraction of the time. That’s the appeal, and it’s a legitimate one when the wall underneath is genuinely sound.
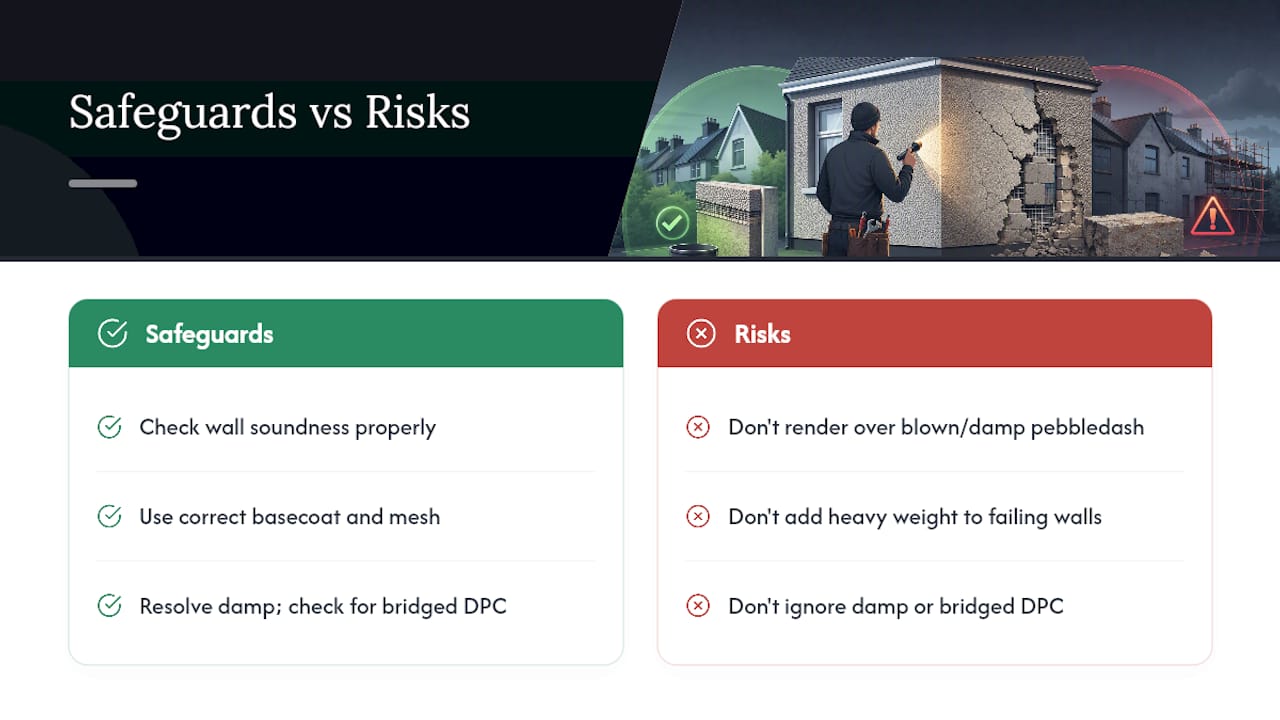
The risk sits entirely with what you can’t see. Rendering over blown or damp-affected pebbledash traps moisture behind the new surface, adds weight and stress to a wall that’s already failing, and often shows cracks within a year or two, undoing the whole job. Mitigating that comes down to three things: do the soundness check properly, use a correct basecoat and mesh system rather than a thin skim, and resolve any damp issues, including checking for a bridged damp-proof course, before render goes anywhere near the wall.
Alternatives worth considering: paint, cladding, and EWI
Rendering isn’t the only route if your pebbledash is sound but tired-looking. Spray masonry paint works well on solid pebbledash and is the cheapest refresh, though it needs recoating every few years and won’t smooth the texture.
Cladding can be fixed over a batten system on top of pebbledash, which also creates a cavity for insulation if you want to improve thermal performance at the same time. External wall insulation combined with render sits at the premium end, typically around double the cost per square metre of render alone, but it pays back through lower heating bills over time, so it’s worth factoring into any re-render decision rather than treating insulation as a separate project later.
DIY or professional? What to ask before you book
Filling small cracks or repainting sound pebbledash is manageable DIY territory. Removal, mesh embedding, and any brickwork repair uncovered underneath are not; get those wrong and you risk structural damage that costs far more to fix than the render itself.
Before hiring, ask:
- Have you worked on pebbledash specifically, and can I see recent examples?
- What basecoat and mesh system do you use, and why?
- What warranty and insurance cover the work?
- How do you handle brickwork repairs if they turn up mid-job?
Pro Tip: Be wary of any quote that skips the mesh or basecoat stage entirely and jumps straight to a thin skim coat. That shortcut is the most common cause of early failure we see on repair callouts.
A local builder’s take on why so many over-render jobs fail
Most failures we see in Merseyside trace back to one thing: nobody tapped the wall before rendering over it. Salt-laden coastal weather and older solid-wall properties make blown patches more common here than homeowners expect, which is exactly why we insist on a soundness check before quoting. Our guides on house rendering options and render maintenance cover the aftercare that keeps a good job good for decades.
— Will
How AJC & Son Builders can help with your render project
AJC & Son Builders is the alternative to guesswork rendering for homeowners across Liverpool and Merseyside: we survey the wall before we quote, not after we’ve started. We carry out soundness checks, remove and repair damaged pebbledash where needed, apply high-build basecoat and mesh systems correctly, and can advise on external wall insulation if you want a warmer home alongside a smarter finish.

Every job comes with a proper site survey, transparent pricing, and workmanship backed by our guarantee, so you know exactly what you’re paying for before scaffolding goes up. If your pebbledash is looking tired or you’ve spotted cracking you’re unsure about, get in touch for a free quote through our house renovation service, and we’ll tell you honestly whether rendering over it is the right call for your walls.