
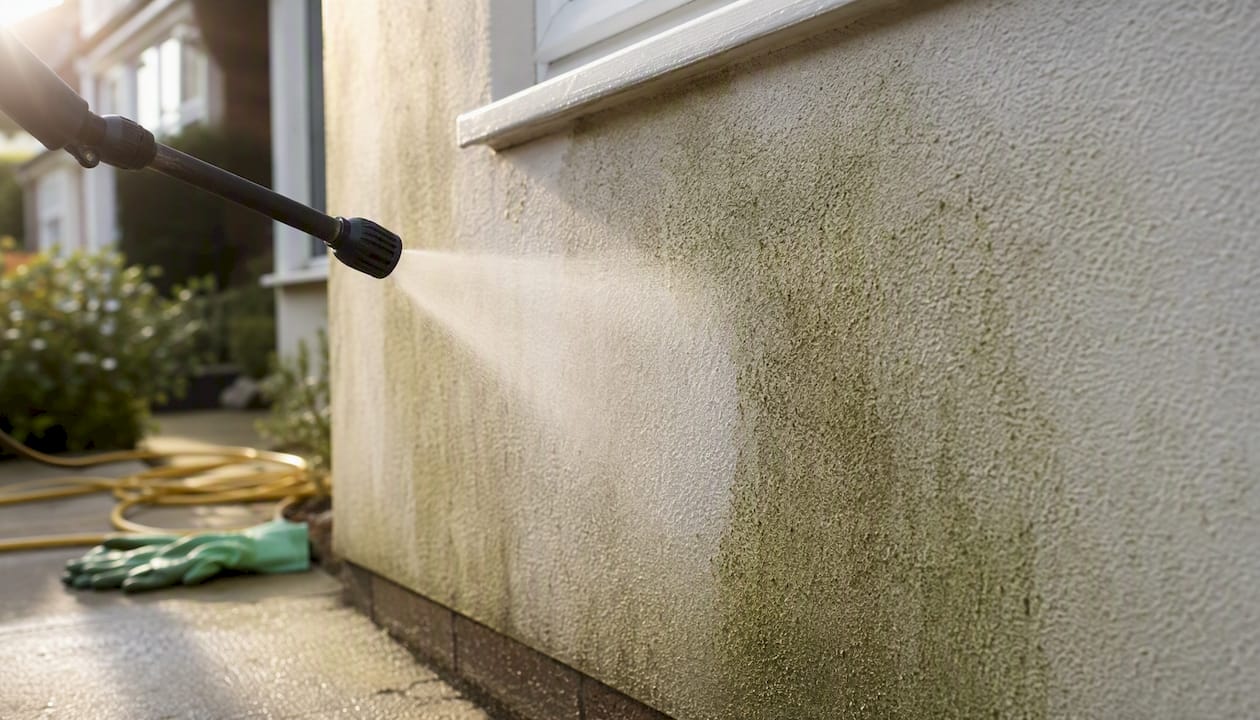
The single most effective thing you can do for rendered walls is a soft wash followed by a short spring inspection, once a year. That routine alone keeps silicone and monocouche façades performing close to their full service life, which industry guidance puts at a multi-decade lifespan with basic care. Neglect it and you will find yourself facing a re-render bill far sooner than necessary.
Here is what to do, and what to avoid, right now:
- Do carry out a soft wash on shaded or north-facing elevations every spring, ideally April to May.
- Do walk the perimeter and check mastic joints, beads, gutters and any cracks you can see.
- Do not reach for a pressure washer on textured or Tyrolean render — high-pressure blasting strips the surface and voids any manufacturer warranty.
- Do not patch a crack cosmetically without first asking why it appeared.
- Call a professional immediately if any crack is wider than 5 mm, if the same crack returns after patching, or if you notice bulging or hollow-sounding render when tapped.
Key takeaways
Annual soft washing and a spring inspection are the two actions that protect rendered walls most effectively, and both are within reach of any homeowner or property manager willing to follow the correct method.
| Point | Details |
|---|---|
| Soft wash first, always | Use low-pressure chemical cleaning on all render types; never pressure wash Tyrolean or lime render. |
| Annual spring inspection | Check cracks, mastic, beads, gutters and biological growth every April or May before problems develop. |
| Crack threshold for professionals | Any crack wider than 5 mm, or one that returns after patching, needs professional investigation, not filler. |
| Match sealer to render type | Use breathable siloxane sealers on sand and cement; check manufacturer data sheets before sealing silicone or monocouche systems. |
| Ajcandsonbuilders for professional work | For diagnostic visits, crack repairs and re-rendering in Liverpool and Merseyside, Ajcandsonbuilders covers the full scope from assessment to finished coat. |
Table of Contents
- What does a good render maintenance guide cover across the year?
- How to identify your render type before choosing a cleaning method
- Soft-wash step-by-step: the safest cleaning method for most renders
- When is a pressure washer acceptable on render?
- Treating algae, moss and black spot lichen
- Repairing cracks and knowing when to call a professional
- Sealers, breathability and choosing the right protective finish
- Small detailing checks that prevent big repair bills
- Tools, PPE and materials: what to buy or hire
- Why do some cracks keep coming back?
- An honest builder’s view on what DIY can and cannot achieve
- Professional rendering and repair services from Ajcandsonbuilders
- Sources
What does a good render maintenance guide cover across the year?
A structured annual cycle is the backbone of any sensible maintenance plan. Rather than reacting to problems, you schedule short tasks at the right time of year, each one taking no more than an hour or two for a typical semi-detached or terraced property.
Spring (April–May) — the main event
This is when most of the year’s work happens. Renders World recommends an April–May soft wash combined with a five-minute detailing check of mastic, beads and gutters as the core annual routine for silicone and monocouche systems.
- Inspect all elevations in good daylight. Look for cracks, staining, hollow areas and failed sealant.
- Clear gutters and downpipes of winter debris before you wash, so dirty water does not run straight back down a clean wall.
- Carry out the soft wash (full protocol in the section below).
- Re-bed or replace any failed mastic around windows, doors and movement joints.
- Note any cracks wider than a hairline for monitoring or professional assessment.
Summer (June–August) — light monitoring
- Check that any patched areas from spring have cured and bonded correctly.
- Look for new staining on south-facing walls, which can develop quickly in warm, damp weather.
- Trim back any vegetation touching the render — ivy and climbing plants trap moisture and accelerate biological growth.
Autumn (September–October) — sheltered and coastal façades
- Renders World notes that shaded or coastal elevations benefit from an optional light rinse in October to remove accumulated salt and organic debris before winter.
- Clear gutters again after leaf fall — a blocked gutter is one of the most common causes of render staining and damp penetration.
- Check flashings and any roof-to-wall junctions before the wet season.
Winter (November–March) — minimal intervention
- Avoid applying chemical treatments or sealers in cold or frosty conditions; most products require a minimum application temperature of around 5°C.
- Use winter to plan and book any professional work identified during the autumn check.
Elevations that need extra attention
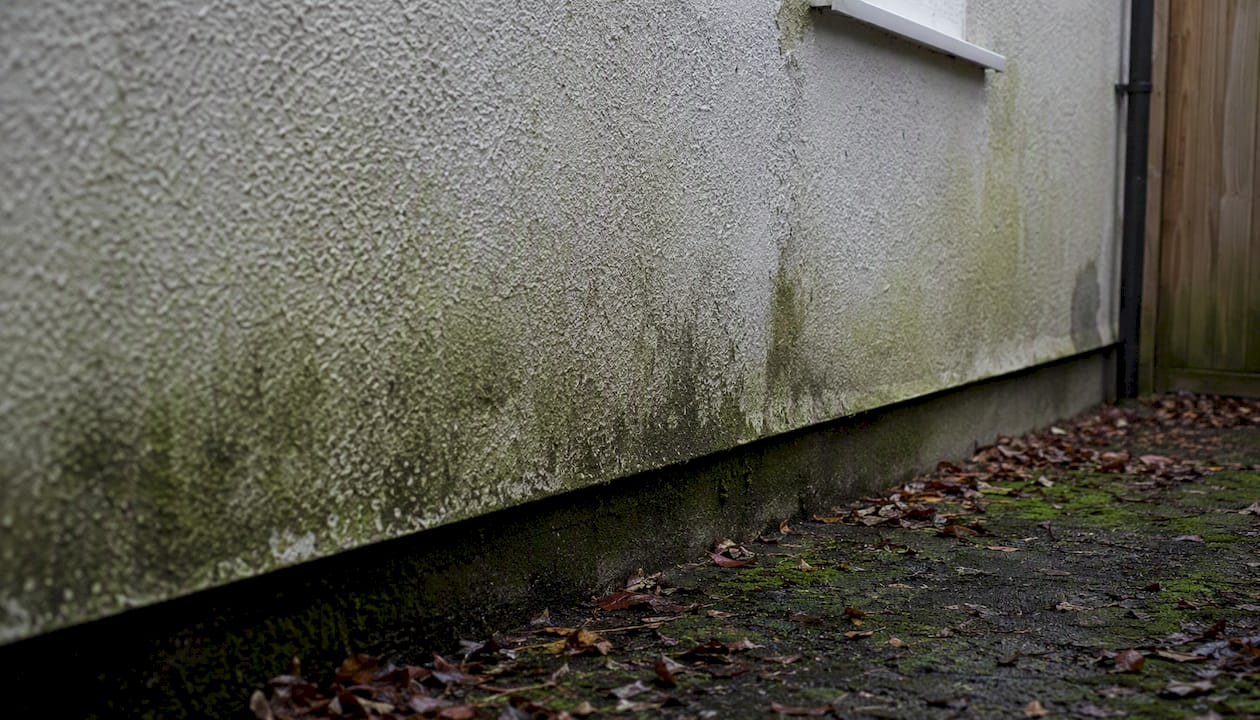
North-facing and sheltered walls dry slowly and grow algae and lichen faster than south-facing ones. Plinths and low-level render near soil or paving stay damp longest and are the first to show biological growth. Tree-shaded sections are in the same category. Prioritise these during every inspection.
How to identify your render type before choosing a cleaning method
Getting the cleaning method wrong because you misidentified the render is one of the most avoidable causes of surface damage. A quick visual and tactile check takes two minutes and tells you almost everything you need to know. Our house rendering options guide covers the full range of systems if you want more detail on each type.
- Tyrolean (roughcast/popcorn texture): A heavily textured, almost spiky surface applied by a machine that throws aggregate at the wall. Run your hand across it and it will scratch your palm. This is the most fragile finish for cleaning — high pressure will knock off the aggregate. Soft wash only.
- Monocouche and silicone render: A thin, smooth-to-fine-textured coloured finish, usually 1–3 mm thick, applied in a single coat. It feels almost like a fine sandpaper. These systems are designed to be self-cleaning to a degree, but they still need an annual soft wash on shaded elevations. Manufacturer data sheets must be followed for any chemical application.
- Sand and cement render: A harder, denser finish that is usually painted or left grey. It tolerates slightly more robust cleaning than silicone systems, but high pressure can still open hairline cracks and force water behind the coat.
- Lime render: A softer, more porous finish common on older and heritage properties. Lime is highly breathable and must never be sealed with a non-breathable product. It is also more sensitive to aggressive chemicals. Gentle soft wash with a dilute biocide is the safe approach; always check compatibility before applying anything.
- Acrylic render: A flexible, polymer-modified finish that is relatively robust. It can handle a gentle low-pressure wash but benefits from soft wash on heavily stained areas.
The key principle is simple: the more textured or porous the surface, the lower the pressure and the gentler the chemistry you should use. Breathability matters most for lime and older masonry renders, where trapping moisture behind a non-breathable sealer causes more damage than the original staining ever would.
Soft-wash step-by-step: the safest cleaning method for most renders
Soft washing uses low pressure and a chemical solution to kill and lift biological growth rather than blasting it off mechanically. Everest Paints’ guidance on fragile render cleaning confirms this as the correct approach for textured surfaces, and it works equally well on smooth silicone and monocouche finishes.
Preparation
- Protect plants and soil. Wet down surrounding plants thoroughly before you start and cover them with plastic sheeting. Sodium hypochlorite will scorch foliage if it lands on dry leaves.
- Cover vents, air bricks and external sockets with tape or plastic to prevent chemical ingress.
- Move garden furniture and vehicles away from the working area.
- Put on your PPE before mixing or handling any chemical: chemical-resistant gloves, safety goggles or a face shield, and a respirator rated for chlorine vapour if you are using sodium hypochlorite in an enclosed or poorly ventilated space.
Chemical options
Two chemicals dominate soft-wash practice for render, and they suit different situations:
- Sodium hypochlorite (bleach): Fast-acting on heavy algae, red algae and black spot. Typically diluted to 1–3% active chlorine for render surfaces, though always follow the product’s Safety Data Sheet (SDS) for the exact dilution and contact time. Works within 15–30 minutes on most green algae. Rinse thoroughly afterwards and neutralise run-off before it reaches drains or watercourses.
- Benzalkonium chloride / DDAC (quaternary ammonium biocide): A gentler, residual biocide that is slower to show results but kinder to surrounding plants and less aggressive on the render surface itself. Products such as Wet & Forget (widely available in the UK) use a DDAC-based formulation: apply, leave, and let rain do the rinsing over several weeks. Dilution and dwell time vary by product, so check the label and SDS.
Application
- Pre-wet the render with clean water from a garden hose or low-pressure pump sprayer. This prevents the chemical from being absorbed too quickly into a dry surface.
- Apply the biocide solution evenly from bottom to top using a garden sprayer or low-pressure pump. Working upward prevents streaking.
- Allow the dwell time specified on the SDS. Do not let the solution dry on the surface; mist with water if it starts to dry in hot weather.
- Rinse from top to bottom with a gentle flow of clean water. For sodium hypochlorite treatments, rinse thoroughly until the smell dissipates.
- Verify the result. Green algae should be dead and beginning to lift. Lichen and black spot may need a second application or a follow-up spot treatment.
Pro Tip: Always read the SDS before mixing or applying any chemical. The SDS gives you the correct dilution, contact time, first-aid steps and disposal instructions specific to that product. Guessing dilution rates is the single most common cause of surface damage and chemical injury during DIY render cleaning.
When is a pressure washer acceptable on render?
The short answer is: rarely, and only with the right settings. Weber’s render maintenance guidance and manufacturer cleaning guidelines both recommend caution with pressure and nozzle choice to avoid finish lift. The Licata maintenance manual goes further, suggesting mild soapy solutions as the first step for light soiling before any powered wash is considered.
When pressure washing is appropriate, keep these parameters in mind:
- Pressure: Stay below 1,000 psi (roughly 70 bar) for sand and cement render. For silicone and acrylic systems, 500–700 psi is a safer ceiling. Always start at the lower end and test on an inconspicuous area.
- Nozzle: Use a wide fan tip (40-degree or wider). A narrow or zero-degree tip concentrates force and will cut into the render surface.
- Distance: Keep the nozzle at least 300–400 mm from the surface. Closer than that and you risk lifting the finish even at moderate pressure.
- Technique: Use slow, sweeping horizontal passes. Never hold the nozzle static on one spot.
Renders and textures that must never be pressure washed:
- Tyrolean (roughcast/popcorn) render — the aggregate will be stripped off, leaving a patchy, irreparable surface. Everest Paints confirms soft wash with a chemical biocide as the only safe method for this finish.
- Lime render — pressure forces water into the substrate and can cause delamination.
- Any render with existing cracks or hollow areas — pressure will enlarge cracks and drive water behind the coat.
- Painted render where the paint film is already lifting.
If you are unsure which category your render falls into, default to soft wash. The cost of re-rendering a façade because pressure washing stripped the finish far exceeds the cost of a chemical treatment.
Treating algae, moss and black spot lichen
Different biological growths need slightly different approaches. Matching the treatment to the organism saves time and avoids over-applying chemicals unnecessarily.
| Biological growth | Appearance | Recommended chemical | Active ingredient | Dilution guidance | Contact time |
|---|---|---|---|---|---|
| Green algae | Green or grey-green film or patches | Sodium hypochlorite or DDAC biocide | Sodium hypochlorite or benzalkonium chloride | 1–3% active chlorine (hypochlorite); follow label for DDAC products | 15–30 min (hypochlorite); several weeks rain-activated (DDAC) |
| Red/orange algae (Trentepohlia) | Orange or rust-coloured staining | Sodium hypochlorite solution | Sodium hypochlorite | 2–3% active chlorine; check SDS | 15–30 min; may need second application |
| Black spot lichen | Small black or dark grey spots, hard to remove | Concentrated DDAC gel or sodium hypochlorite | Benzalkonium chloride or sodium hypochlorite | Gel applied neat or as directed; hypochlorite at 3% | 15–30 min; repeat if needed |
| Moss | Green cushion growth, often on plinths | DDAC biocide or dilute hypochlorite | Benzalkonium chloride | Follow product label | 15–30 min; brush off dead growth after |
Plant protection during treatment
Wet surrounding plants before and after application. For sodium hypochlorite treatments near established shrubs or borders, dilute any run-off with a hose immediately after rinsing the wall. DDAC-based products such as Wet & Forget are considerably gentler on surrounding vegetation, which makes them a sensible choice near planted borders.
Spot treatment for stubborn black spot lichen
Black spot lichen is the most resistant biological growth on render. A gel-format biocide applied with a paintbrush directly onto each spot, left for the full dwell time, then rinsed off gives better results than a blanket spray. After treatment, once the surface is fully dry, a breathable masonry sealer can slow re-colonisation on porous surfaces. Do not seal silicone or monocouche render without checking the manufacturer’s data sheet first.
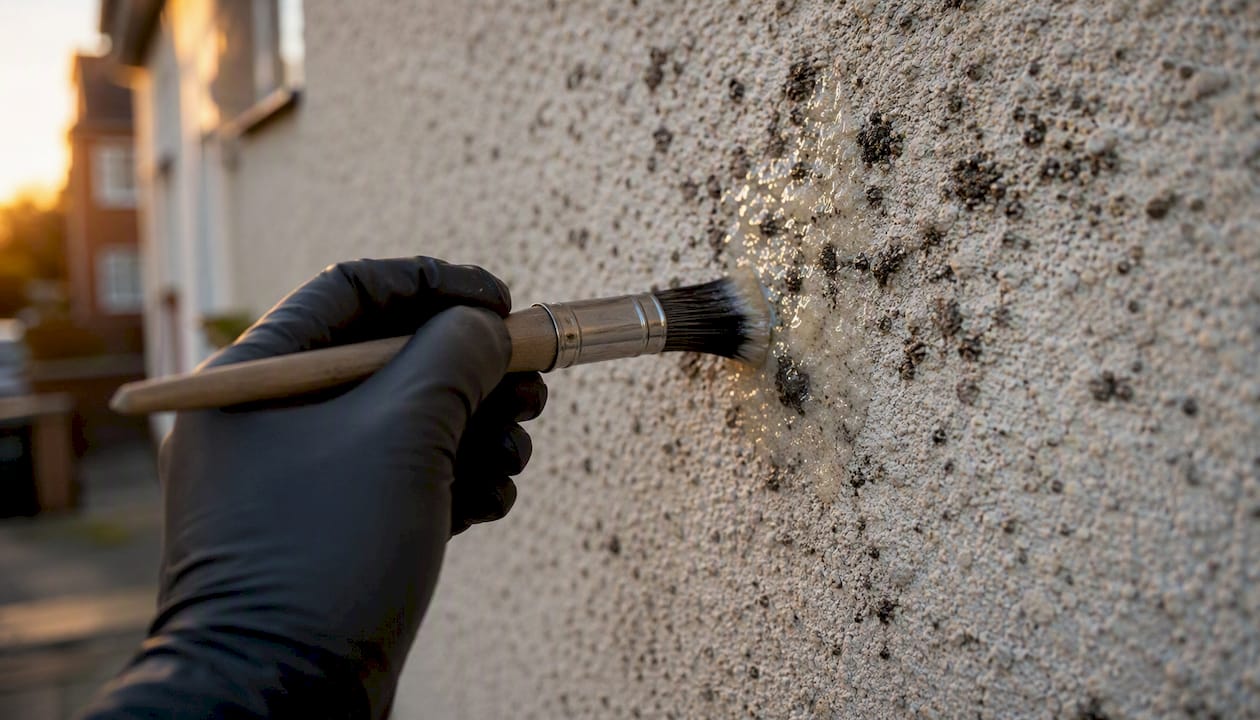
Pro Tip: After any biocide treatment, dead biological matter will continue to wash off the wall over the following weeks. Do not re-treat immediately if you still see discolouration — give it four to six weeks and let rain do the rinsing before deciding whether a second application is needed.
Repairing cracks and knowing when to call a professional
Not every crack is a crisis, but every crack is a question. The question is: why is it there?
Repair thresholds
- Hairline cracks (under 1 mm wide): Usually surface shrinkage or thermal movement. Safe to monitor and patch yourself.
- Cracks 1–5 mm wide: Worth monitoring with a crack gauge or pencil marks at each end. If they grow, call a professional. If stable after three months, patch carefully.
- Cracks wider than 5 mm, or any crack that recurs after patching: BRE guidance is clear that repeat or wide cracks commonly indicate structural movement or installation faults. These need professional investigation, not cosmetic filler.
- Hollow or bulging render: Tap the surface with your knuckle. A dull, hollow sound means the render has debonded from the substrate. This section needs to come off and be re-applied professionally.
DIY patch steps for hairline cracks and isolated chips
- Clean the crack. Use a stiff brush to remove loose material and dust. Widen a hairline crack slightly with a scraper or grout rake so the filler has something to grip.
- Prime the area. Apply a compatible masonry primer or PVA diluted to the manufacturer’s specification. Allow to dry fully.
- Fill. Use a flexible exterior filler or a render repair mortar matched to your render type. For silicone or monocouche systems, use a manufacturer-approved repair product — K-Rend and Weber both supply compatible repair mortars for their systems.
- Finish and blend. Feather the edges and texture to match the surrounding surface as closely as possible. This is the hardest part of DIY repair; a perfect colour and texture match is rarely achievable without professional skill.
- Seal if appropriate. On porous renders, a breathable masonry sealer over the repair slows moisture ingress. Not appropriate for silicone systems without manufacturer approval.
Questions to ask a contractor before hiring
- Are you insured for rendering and external repair work, and can you provide your public liability certificate?
- Have you worked with this specific render system (K-Rend, Weber, monocouche) before?
- Can you show me examples of similar repair or re-render work?
- What is your diagnosis of the root cause, and will you address that before patching?
- What materials will you use, and are they compatible with the existing system?
- What is the timeline, and will the work be affected by weather conditions?
Bring photographs of the cracks, measurements of their width and length, and note whether they have changed since you first spotted them. That information helps a contractor give you an accurate quote and a realistic diagnosis.
Sealers, breathability and choosing the right protective finish
A sealer applied to the wrong render type can cause more damage than no sealer at all. The key concept is vapour permeability: render needs to breathe, releasing moisture that enters from inside the building or from driving rain. Block that vapour path and moisture becomes trapped, leading to damp, spalling and render failure.
- Breathable masonry sealers (silicone-based water repellents, siloxane treatments) allow water vapour to pass through while repelling liquid water. These are appropriate for sand and cement render and for some acrylic systems. They extend the interval between cleans by reducing the surface energy that biological growth needs to establish.
- Non-breathable sealers (many acrylic and polyurethane coatings) trap moisture. Never apply these to lime render, older masonry or any substrate where internal moisture is present. The result is almost always blistering and delamination within a few seasons.
- Silicone and monocouche renders are engineered to be self-sealing and highly breathable. Applying an additional sealer over them can interfere with that engineered performance. Always check the manufacturer’s data sheet before applying any topcoat. K-Rend and Weber both publish specific guidance on compatible aftercare products for their systems.
- Lime render requires a breathable finish above all else. A lime wash or a silicone-based water repellent rated for lime substrates are the appropriate choices. Never use a cement-based or acrylic sealer over lime.
When does overcoating make sense? On sand and cement render that is structurally sound but showing early biological growth, a siloxane water repellent applied after a soft wash and full drying period (typically 48–72 hours minimum) can meaningfully slow re-colonisation. On a render that is cracked, hollow or damp, sealing is pointless until the underlying defect is resolved.
Small detailing checks that prevent big repair bills
The most expensive render failures almost always start at the edges, not the face. Sealant joints, beads, gutters and flashings are where water finds its way behind the render coat, and they take five minutes to check.
- Mastic and sealant joints: Run a fingertip along every sealant bead around windows, doors, movement joints and where render meets a different material (brick, stone, timber). If the sealant is cracked, pulling away or has gone hard and lost elasticity, replace it. Use a low-modulus neutral-cure silicone sealant for render-to-frame joints — it stays flexible through thermal movement and does not shrink like standard decorator’s caulk.
- Render beads: Check that stop beads and angle beads at corners and reveals are still firmly bonded and have not rusted through. A rusted bead will stain the render orange and eventually cause the edge to crack and lift.
- Gutters and downpipes: Clear them in spring and again after leaf fall. A blocked gutter overflows onto the wall directly above the render, creating a permanent damp patch and ideal conditions for algae. Check that downpipe brackets are secure and that the pipe discharges cleanly away from the wall base.
- Flashings and roof-to-wall junctions: Where render meets a roof or parapet, check that the flashing is lapped correctly and sealed. This is a common entry point for water that then tracks down behind the render.
- Window sills and cills: Water should shed away from the wall. If a sill has no drip groove or the groove is blocked, water runs back against the render below the window — a classic cause of localised staining and algae.
Pro Tip: The north elevation and any wall shaded by a neighbouring building or large tree are where detailing failures show up first. Make these your priority during the spring check. A five-minute inspection in April can save a four-figure repair bill in autumn.
Tools, PPE and materials: what to buy or hire
You do not need a van full of specialist equipment for routine render maintenance. Most of what you need for a soft wash and a basic inspection is already in a well-stocked garden shed or available from a builders’ merchant.
Essential PPE (never skip these):
- Chemical-resistant nitrile or neoprene gloves
- Safety goggles or a full face shield (not standard safety glasses — chemical splash needs a seal)
- Respirator with an appropriate filter cartridge when using sodium hypochlorite in confined or poorly ventilated areas
- Old clothing or a disposable coverall — bleach will ruin fabric
Cleaning equipment:
- Garden pump sprayer (5–10 litre capacity) for applying biocide solution
- Soft-bristle brush on a long handle for gentle agitation on stubborn patches
- Garden hose with adjustable nozzle for pre-wetting and rinsing
- Wide fan-tip nozzle if using a pressure washer (40-degree minimum)
Repair materials:
- Exterior flexible filler or manufacturer-approved render repair mortar (K-Rend or Weber repair products for their respective systems)
- Masonry primer compatible with your render type
- Low-modulus neutral-cure silicone sealant for joint repairs
- Crack gauge or pencil marks for monitoring crack width over time
When to hire rather than buy:
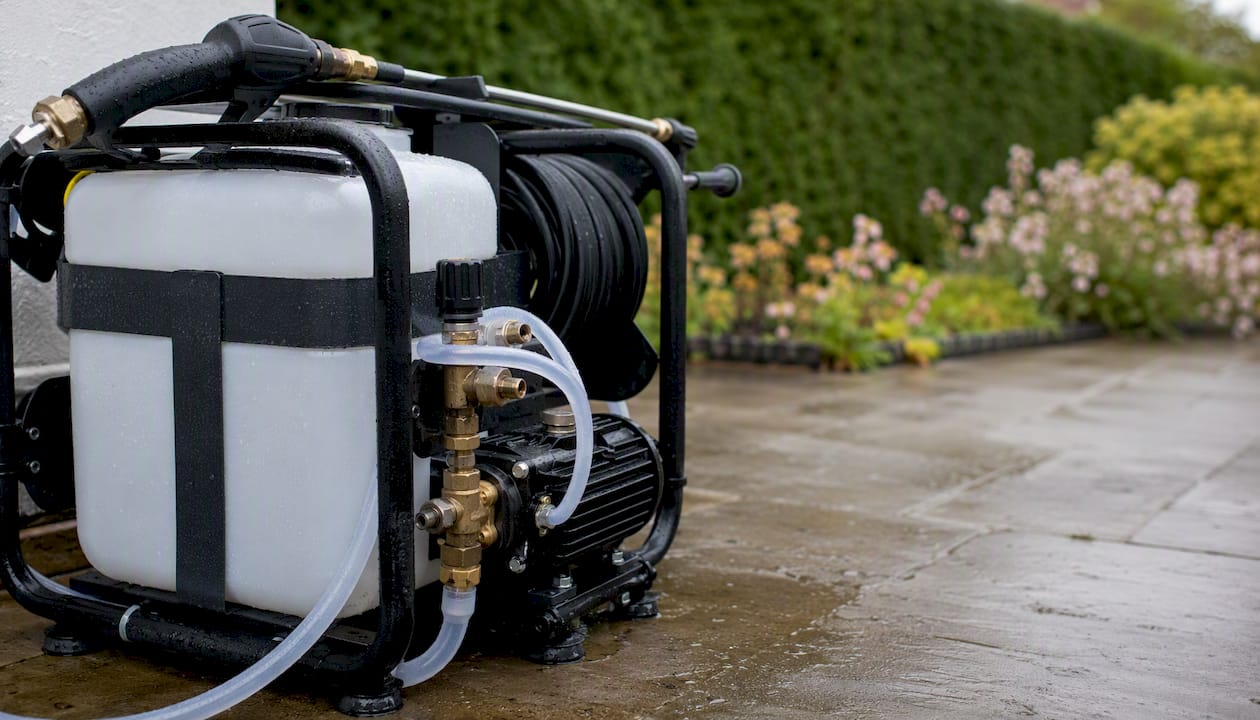
A powered soft-wash unit (a low-pressure pump with a chemical tank) is worth hiring for a large property or a heavily colonised façade. Buying one for a single annual clean rarely makes financial sense. Similarly, if the work requires access above first-floor level, hire scaffold or a properly rated tower rather than working from a ladder — site safety practices apply to domestic maintenance just as much as to new build work.
Chemical handling and disposal:
Read the SDS for every chemical before use. Sodium hypochlorite run-off must be diluted before it reaches a drain or watercourse — the Environment Agency treats chemical discharge as a pollution incident. DDAC-based products are generally less aggressive on the environment but still require responsible disposal. Never mix sodium hypochlorite with any acid-based cleaner; the reaction produces chlorine gas.
Why do some cracks keep coming back?
A crack that returns after patching is telling you something important: the cause has not been fixed. Surface filler addresses the symptom. Movement, substrate failure or poor original detailing is the disease.
- Repeat cracks suggest movement. Thermal expansion and contraction, building settlement, or active structural movement all cause render to crack in the same place repeatedly. Patching without addressing the movement source is a cycle with no end.
- Hollow areas indicate debonding. If tapping reveals a hollow sound around a cracked area, the render has lost its bond to the substrate. This section will eventually fall, and patching the crack face alone will not prevent it.
- Stepped cracks over openings (windows, doors) often indicate lintel movement or failure. This is a structural matter, not a render matter, and needs a structural engineer or experienced contractor to assess.
- Damp patches inside the building near an external crack confirm that water is tracking through. The render is no longer performing as a weather barrier at that point.
- Cracks at render-to-bead junctions often indicate that the original bead was not fixed correctly or has corroded. The fix is to remove the bead, treat any corrosion, and re-fix with a stainless or plastic bead before re-rendering.
A professional contractor’s diagnostic process typically involves monitoring crack width over four to eight weeks, tapping the full affected area for hollow sections, checking structural fixings and lintels, and carrying out a damp test on the internal face. For property managers dealing with recurring defects across multiple units, our landlord guide to brickwork issues covers the broader pattern of recurring external defects and when to escalate.
Once the root cause is confirmed, the contractor’s scope usually covers fixing the movement source (repointing, lintel replacement, structural repair), followed by cutting out the failed render section, re-priming, and applying a compatible replacement coat. Localised re-rendering matched to the existing system is preferable to a full façade strip where the surrounding render is still sound.
Pro Tip: Mark the ends of any crack you are monitoring with a pencil line and the date. Check it after four weeks and again after eight. A crack that has not moved in eight weeks is almost certainly stable shrinkage. One that has grown, even by a millimetre, needs professional assessment before you touch it.
An honest builder’s view on what DIY can and cannot achieve
The most common mistake we see homeowners make is patching a crack without asking why it appeared. A tube of exterior filler costs a few pounds and takes ten minutes to apply. It also gives the impression that the problem is solved, which delays the professional assessment that might have caught a lintel issue or a debonded section before it became a full re-render job.
DIY soft washing, annual inspections and small sealant replacements are genuinely worthwhile. They extend the life of a render system, keep the property looking well-maintained and give you early warning of anything more serious. That is real value, and we encourage homeowners to do it.
Where DIY reaches its limit is diagnosis. Knowing that a crack is there is not the same as knowing why it is there. A builder who has worked on hundreds of rendered properties will tap, probe and assess in ways that a homeowner simply cannot replicate from a ladder with a torch. The cost of a professional inspection is almost always a fraction of the cost of the repair that gets missed.
If you are in any doubt about what a crack, hollow area or damp patch is telling you, book an inspection before you do anything else. The earlier a structural or substrate issue is caught, the cheaper and less disruptive the fix.
Professional rendering and repair services from Ajcandsonbuilders
When the inspection reveals something beyond a soft wash and a tube of sealant, you need a contractor who knows render systems from the substrate up. Ajcandsonbuilders offers diagnostic visits, small crack repairs, full re-rendering and remedial detailing work across Liverpool and Merseyside, covering systems including K-Rend, Weber and monocouche finishes. Rather than guessing at a root cause, we assess the wall properly first, fix what is actually wrong, and then apply the correct repair or replacement coat.

Before you request a quote from any contractor, ask these questions: Are you insured for rendering work? Have you worked with this specific system before? What is your diagnosis of the root cause? What materials will you use, and are they manufacturer-approved? A contractor who cannot answer those questions clearly is not the right choice for your property.
To arrange a site visit or get a quote for rendering and repair work, contact Ajcandsonbuilders directly. We are happy to assess the wall, give you an honest diagnosis and explain your options without obligation.
Sources
Before applying any chemical or repair product, read the manufacturer’s Safety Data Sheet and product data sheet. Dilution rates, contact times and safety precautions vary between products, and the label is always the authoritative reference.
- BRE — guidance on render cracking and movement
- Safe cleaning methods for fragile render — Everest Paints
- Silicone render maintenance tips: UK annual care cycle — Renders World
- Maintenance of rendered walls — Render Systems Authority guidelines (PDF)
- Maintenance manual – render finishes — Licata
- Saint‑Gobain Weber’s complete guide to render maintenance